Exercise 3: Gaining Control over a Victim Machine Using njRAT
njRAT is a RAT with powerful data-stealing capabilities. In addition to logging keystrokes, it is capable of accessing a victim's camera, stealing credentials stored in browsers, uploading and downloading files, performing the process and file manipulations, and viewing the victim's desktop.
This RAT can be used to control Botnets (networks of computers), allowing the attacker to update, uninstall, disconnect, restart, close the RAT, and rename its campaign ID. The attacker can further create and configure the malware to spread through USB drives with the help of the Command and Control server software.
- Remotely access victim’s computer
- Collect victim’s information like IP address, hostname, OS, etc.
- Manipulate files and system files
- Open active remote session providing attacker access to victim machine’s command line
- Log keystrokes and steal credentials from browsers
Note: The versions of the created Client or Host and appearance of the website may differ from what it is in the lab. But the actual process of creating the server and the client is the same one shown in this lab.
Lab Scenario
Attackers use RATs to infect the target machine to gain administrative access. RATs help an attacker to remotely access complete GUI, control victim’s computer without his or her awareness and are capable of performing screening and camera capture, code execution, keylogging, file access, password sniffing, registry management, and so on. It infects victims via phishing attacks and drive-by downloads and propagates through infected USB keys or networked drives. It can download and execute additional malware, execute shell commands, read and write registry keys, capture screenshots, log keystrokes, and spy on webcams.
Being a security administrator or an ethical hacker, your job responsibilities include finding machines vulnerable to Trojan attacks, protecting the network from malware, Trojan attacks, stealing valuable data from the network, and identity theft.
Being a security administrator or an ethical hacker, your job responsibilities include finding machines vulnerable to Trojan attacks, protecting the network from malware, Trojan attacks, stealing valuable data from the network, and identity theft.
Lab Objectives
The objective of this lab is to help students learn how to:
- Create a Server using njRAT
- Access the victim machine remotely
Lab Duration: 15 Minutes
- Click Windows 10, and then click Ctrl+Alt+Delete.
Alternatively click Ctrl+Alt+Delete from Commands menu (Thunder icon).

- In the Password field click Pa$$w0rd and press Enter to login.
Alternatively navigate to Commands (Thunder icon) menu Type Text and click Type Password.
- To turn on Firewall, hover your mouse cursor to lower left corner of the desktop, and type Control Panel in the Type here to search field and click Control Panel app to launch.
All Control Panel Items window appears, click Windows Defender Firewall. In the Windows Defender Firewall window click Use recommended settings button and then close all the windows that were opened.
Leave the Windows 10 machine running.

- Click Windows Server 2016 and click Ctrl+Alt+Delete.
Alternatively navigate to Commands (Thunder icon) menu and click Ctrl+Alt+Delete.

- In the Password field click Pa$$w0rd and press Enter to login.
Alternatively navigate to Commands (Thunder icon) menu Type Text and click Type Password.
- To launch njRAT, navigate to E:\CEHv10 Module 07 Malware Threats\Trojans Types\Remote Access Trojans (RAT)\njRAT, and double-click njRAT v0.7d.exe to launch.
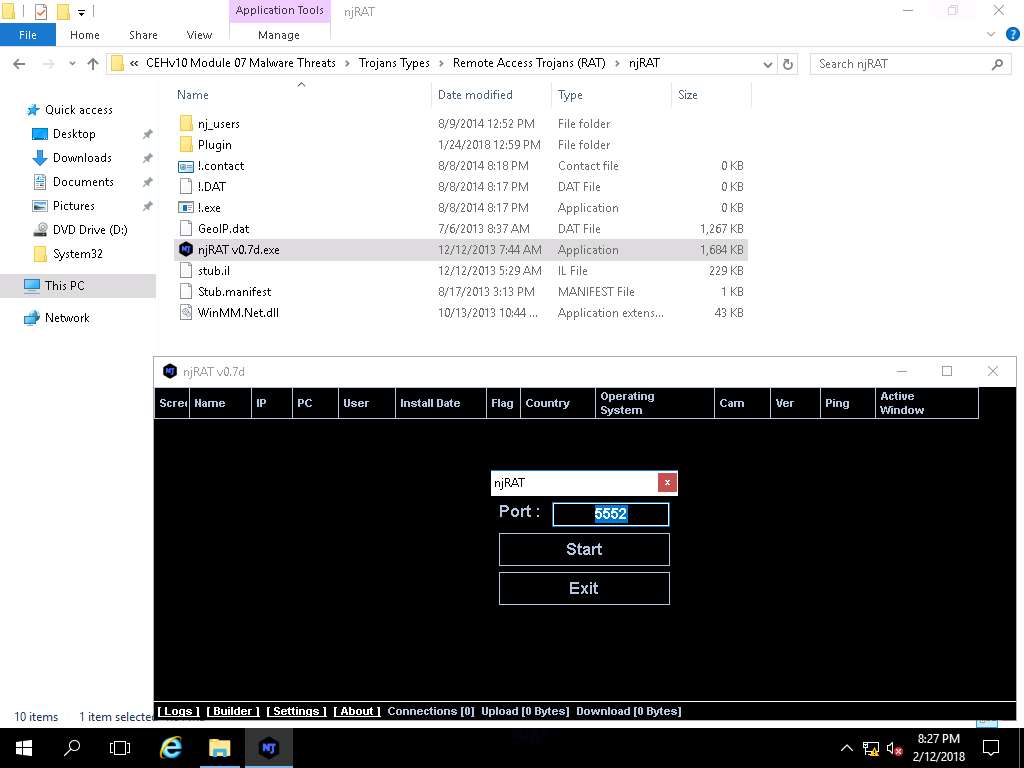
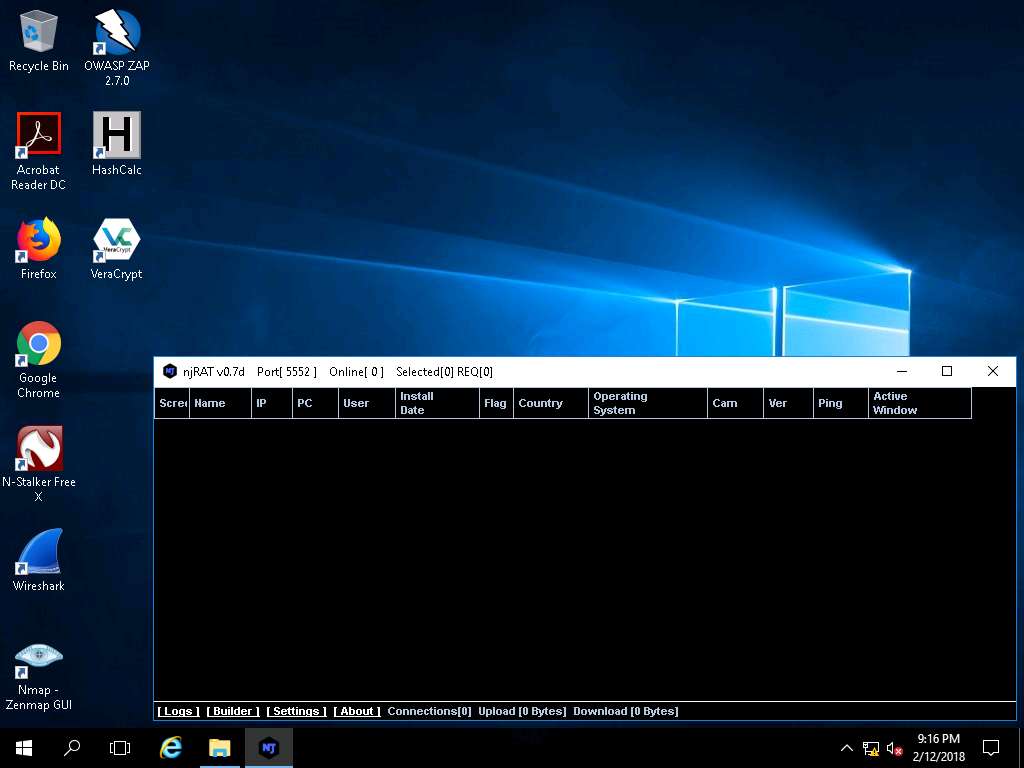
- njRAT GUI appears along with a njRAT pop-up, where you need to specify the port you want to use to interact with the victim machine. Enter the port number, and click Start.
In this lab, default port is 5552 has been chosen.
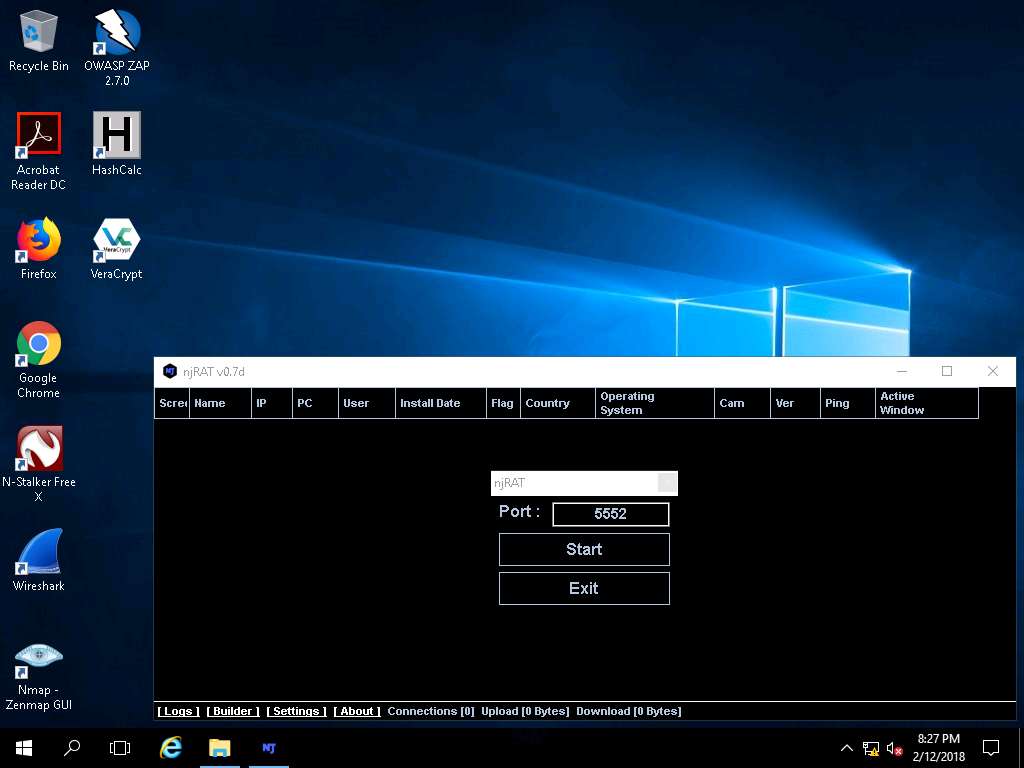
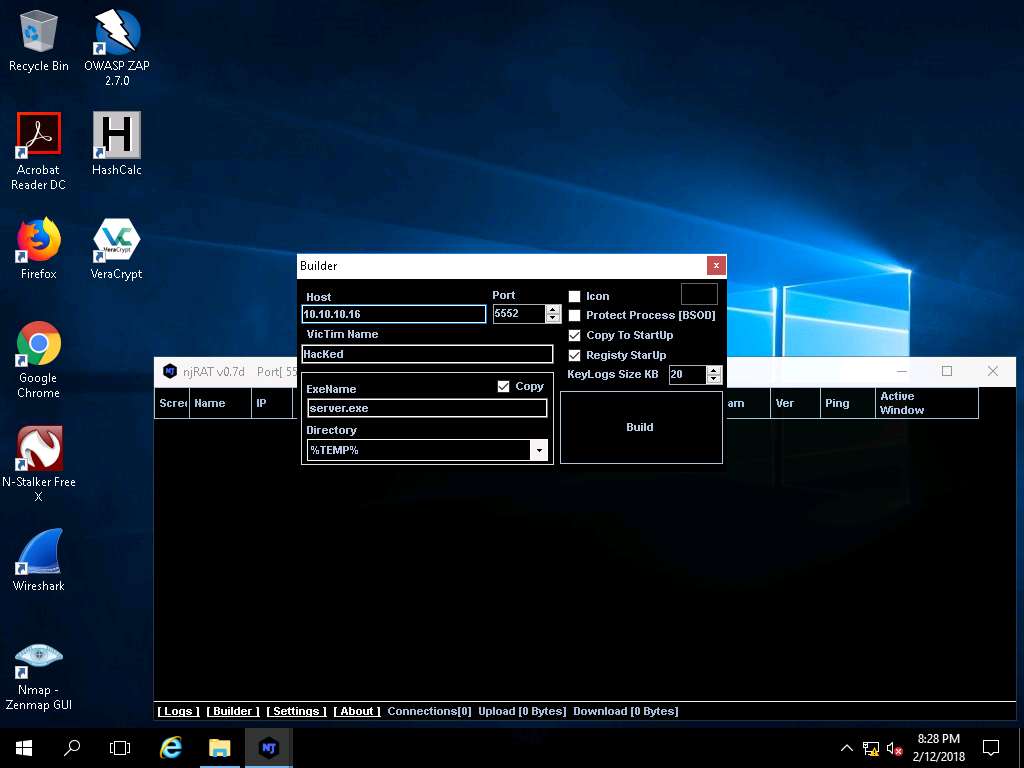
- The njRAT GUI appears; click the Builder link located at the lower-left corner of the GUI.

- The Builder dialog-box appears; enter the IP address of Windows Server 2016 (attacker machine) machine, check the options Copy To StartUp and Registry StartUp, and click Build.
The IP address of the Windows Server 2016 machine is 10.10.10.16.
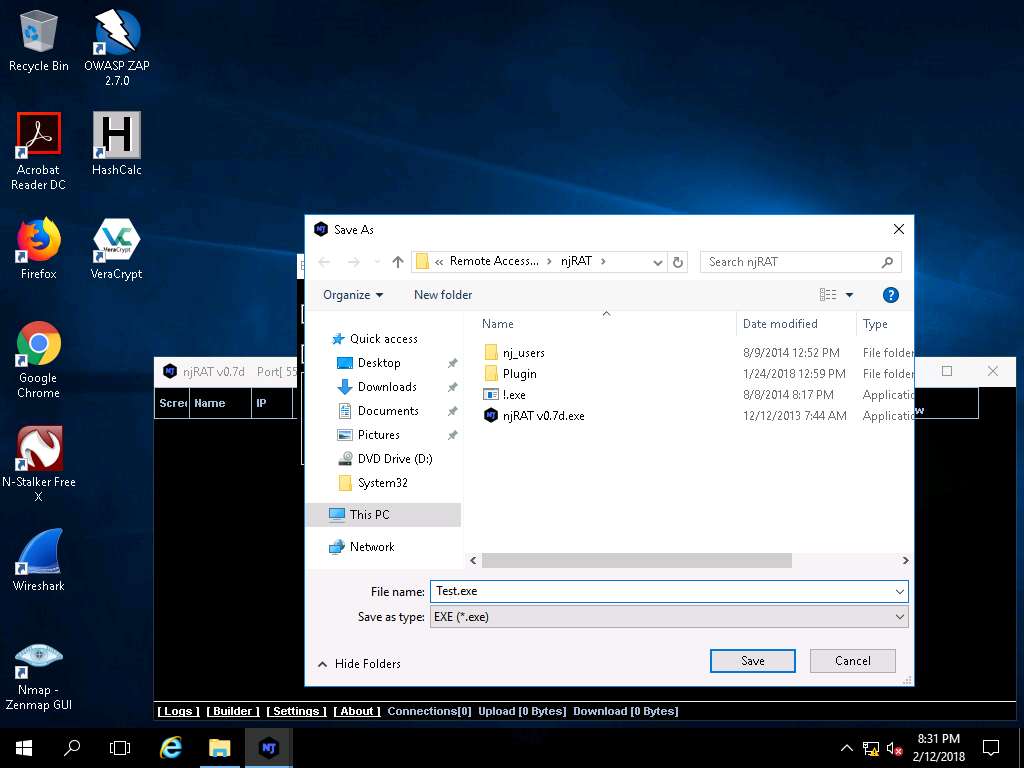
- The Save As dialog-box appears; specify a location to store the server, rename it, and click Save.
In this lab, the destination location is E:\CEHv10 Module 07 Malware Threats\Trojans Types\Remote Access Trojans (RAT)\njRAT, and the file is named Test.exe.
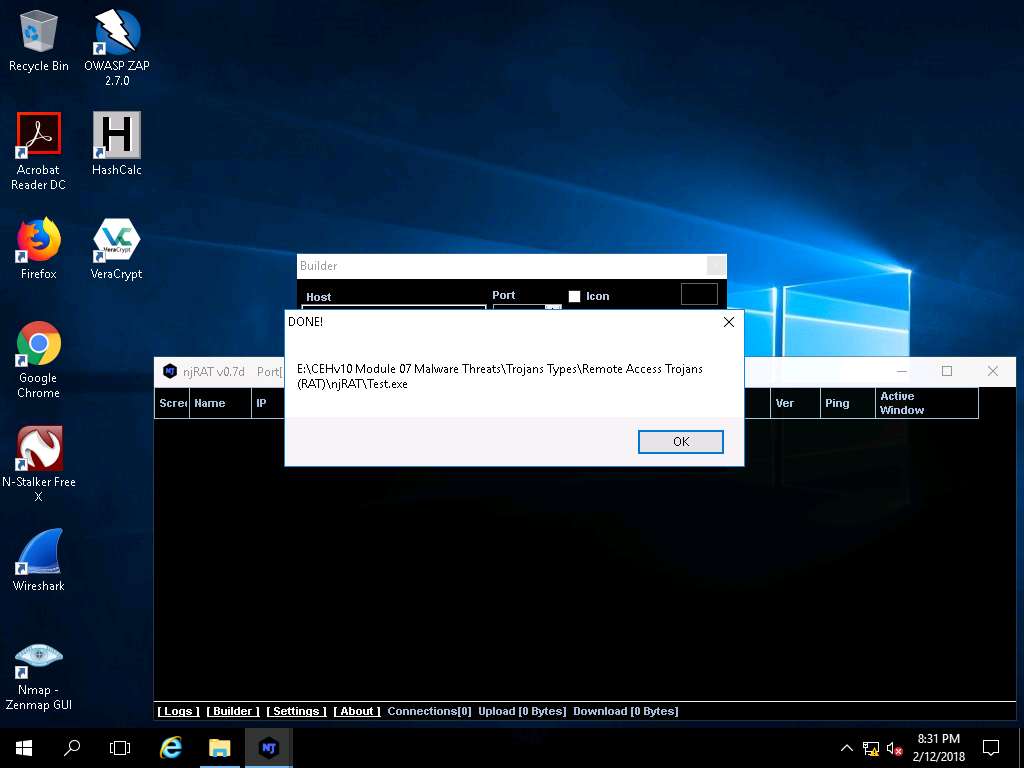
- Once the server is created, the DONE! pop-up appears; click OK.
- In real-time, attackers send a crafted server/backdoor file to the victim, which upon execution on victim machines, allow attackers to view/access all information related to those machines.
In this lab we are sharing the Test.exe file in the Shared Network drive, which can be accessible in the other machines.
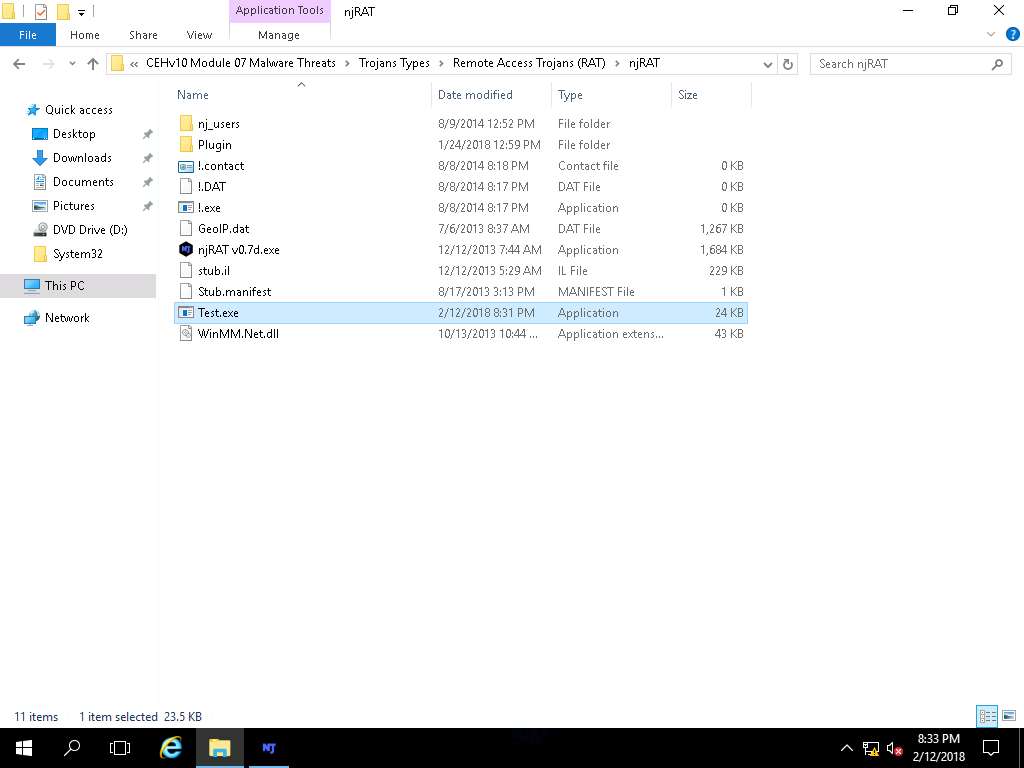
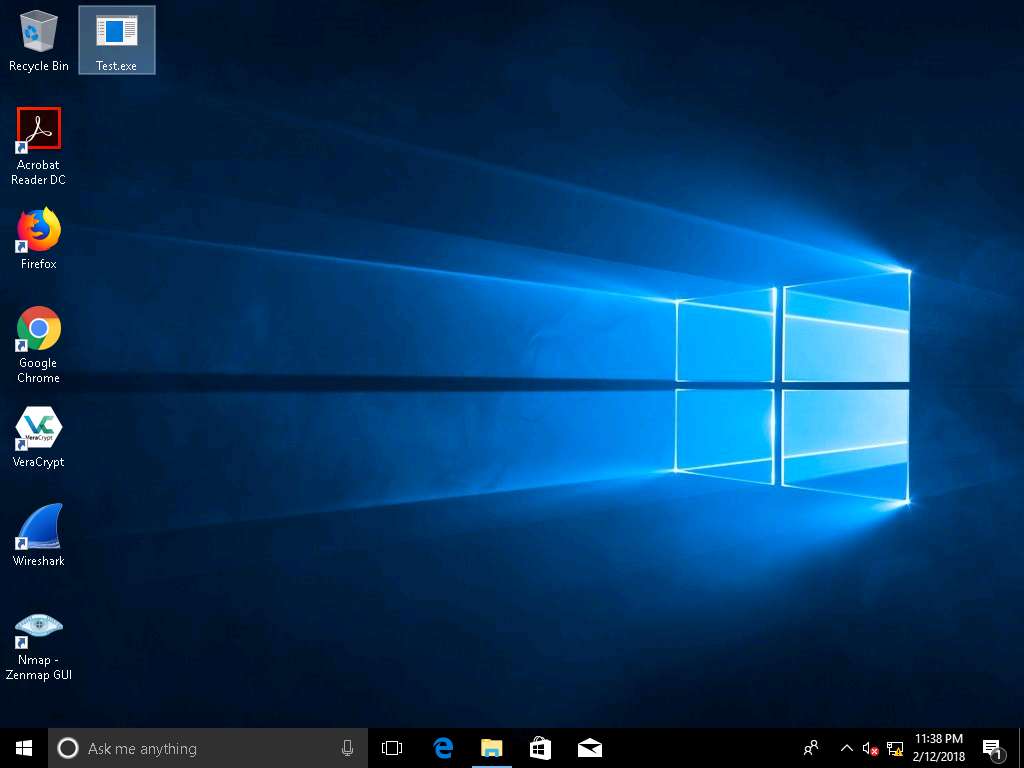
- Click Windows 10, and navigate to Z:\CEHv10 Module 07 Malware Threats\Trojans Types\Remote Access Trojans (RAT)\njRAT.
Copy and Paste the Test.exe file on Desktop. Minimize the windows that were open.
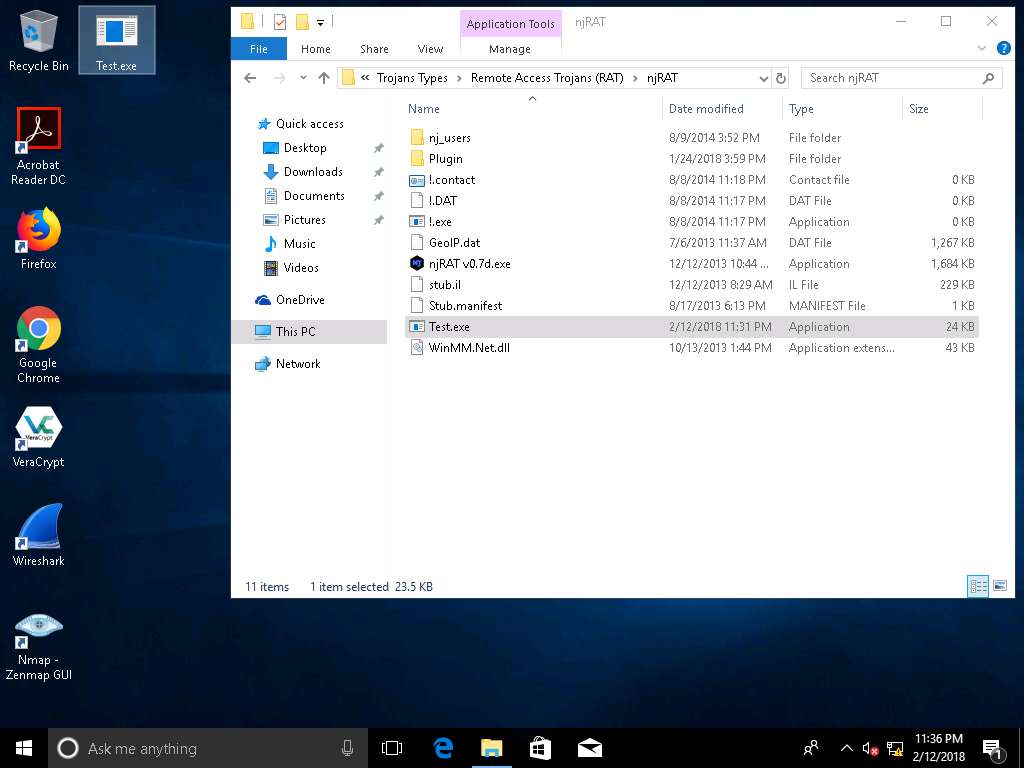
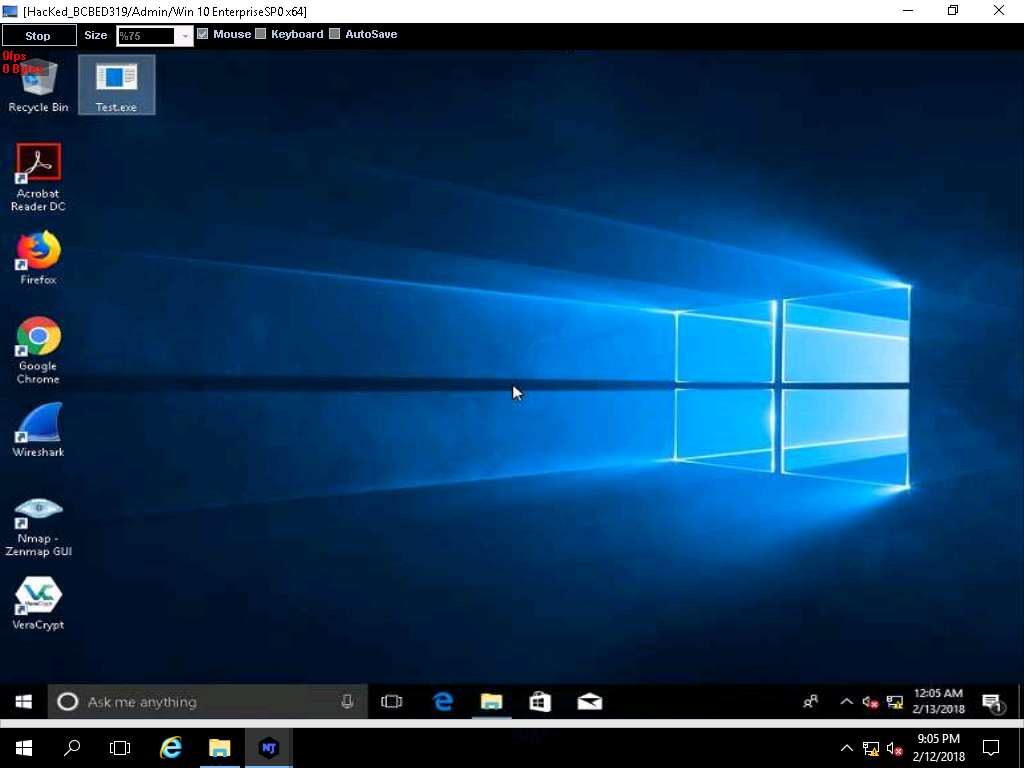
- Now, double-click Test.exe file that you have pasted on the Desktop.

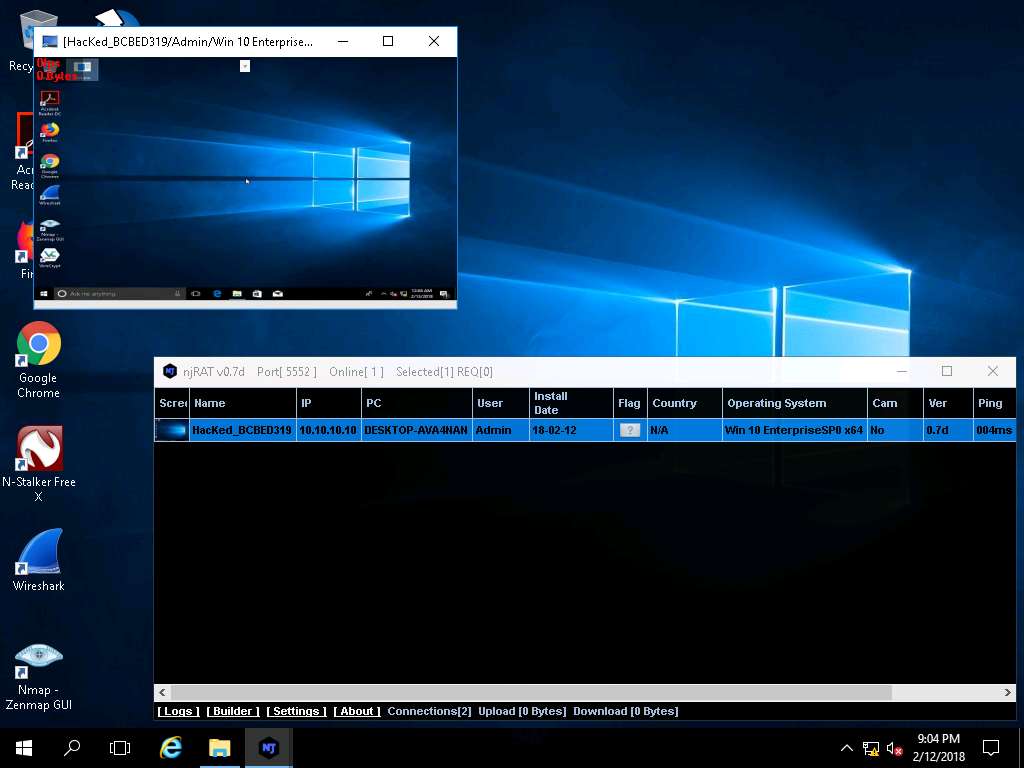
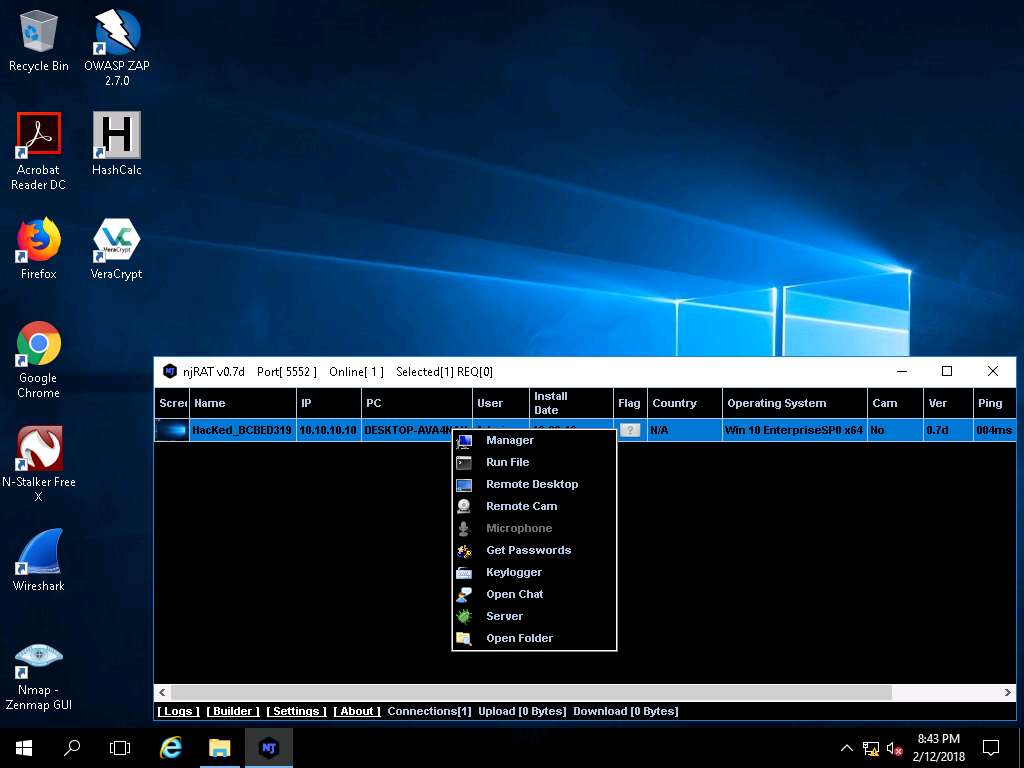
- Click Windows Server 2016, as soon as the victim (here, you) double-clicks the server, the executable starts running and the njRAT client (njRAT GUI) running in Windows Server 2016 establishes a persistent connection with the victim machine as shown in the screenshot.
Unless the attacker working on the Windows Server 2016 machine disconnects the server on his own, the victim machine remains under his/her control.
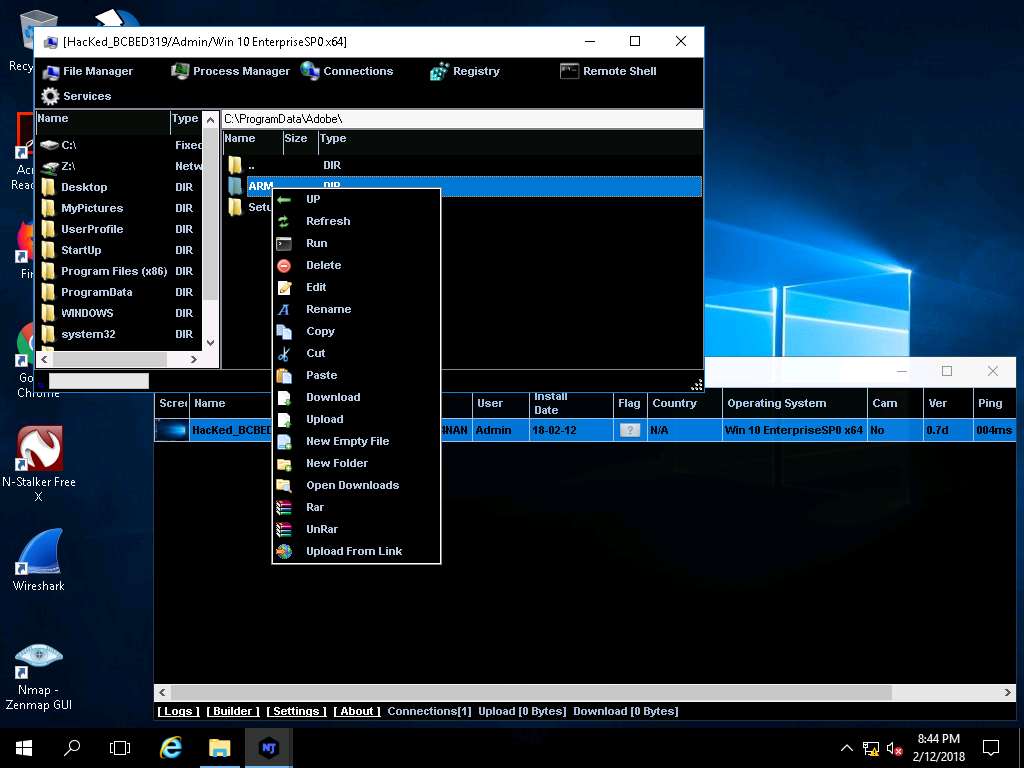
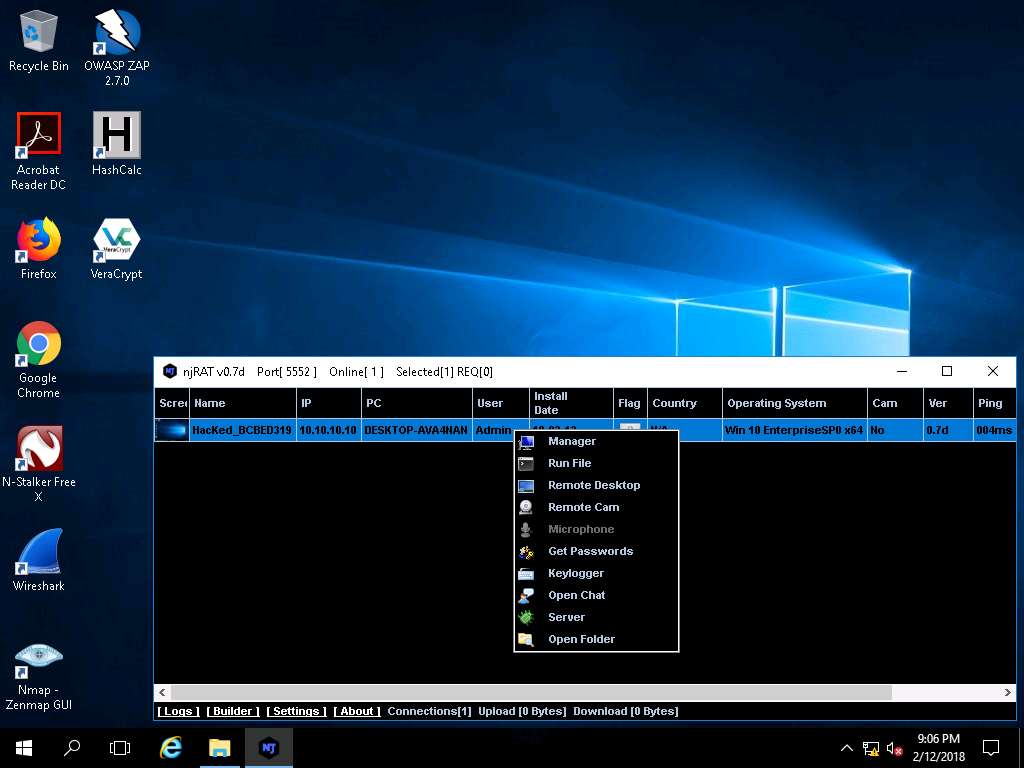
The GUI displays the machine’s basic details such as the IP address, User name, Type of Operating system and so on. Right-click on the detected victim name and click Manager.

- Manager window appears, where File Manager is selected by default. Double-click any directory in the left pane (ProgramData); all its associated files/directories are displayed in the right pane. You can right-click a selected directory and manipulate it using the contextual options.
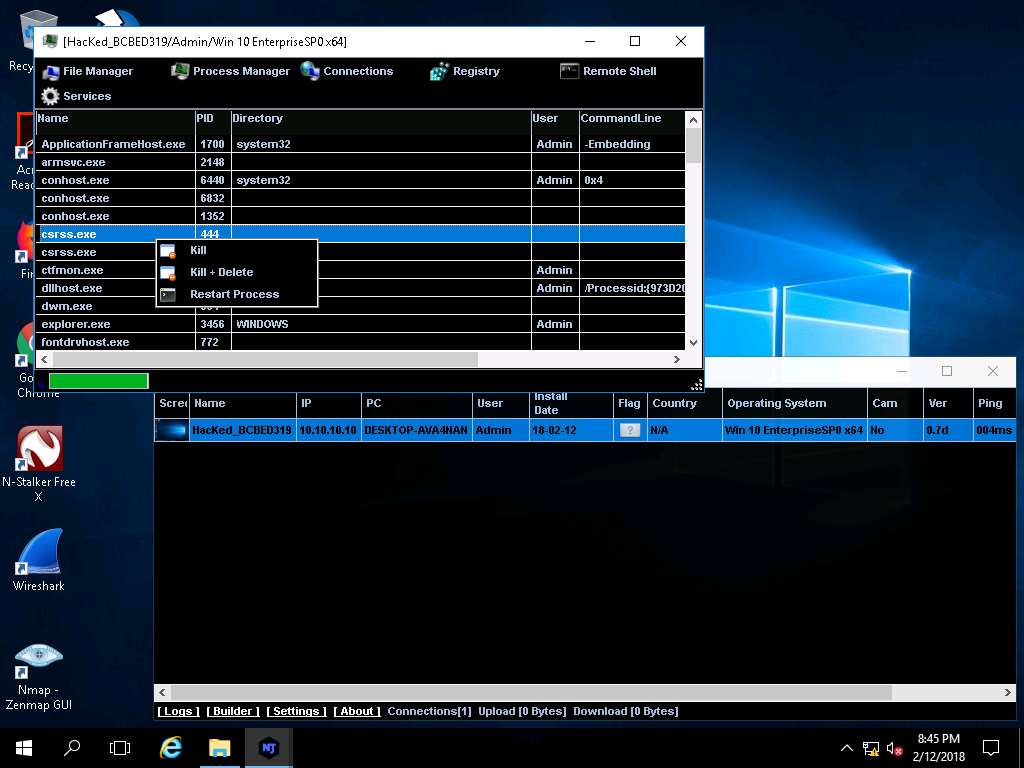
- Hover the mouse on Process Manager. You will be redirected to the Process Manager, where you can right-click on a selected process and perform actions such as Kill, Delete, and Restart.
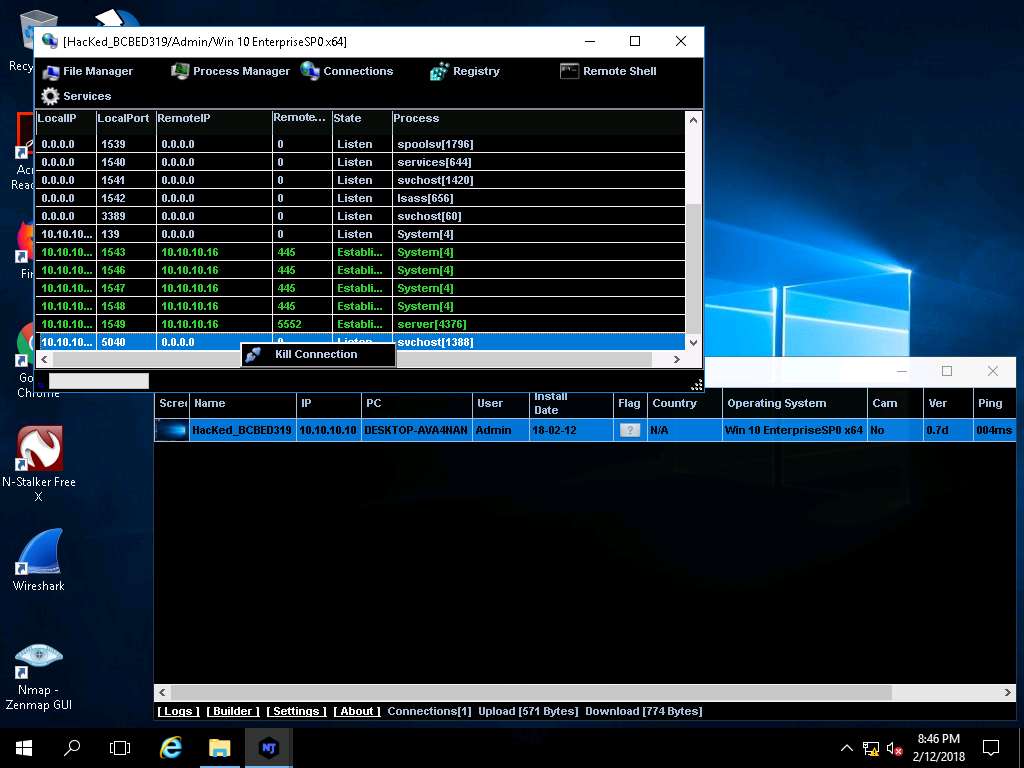
- Click Connections, select a specific connection, right-click on it, and click Kill Connection. This kills the connection between two machines communicating through a particular port.
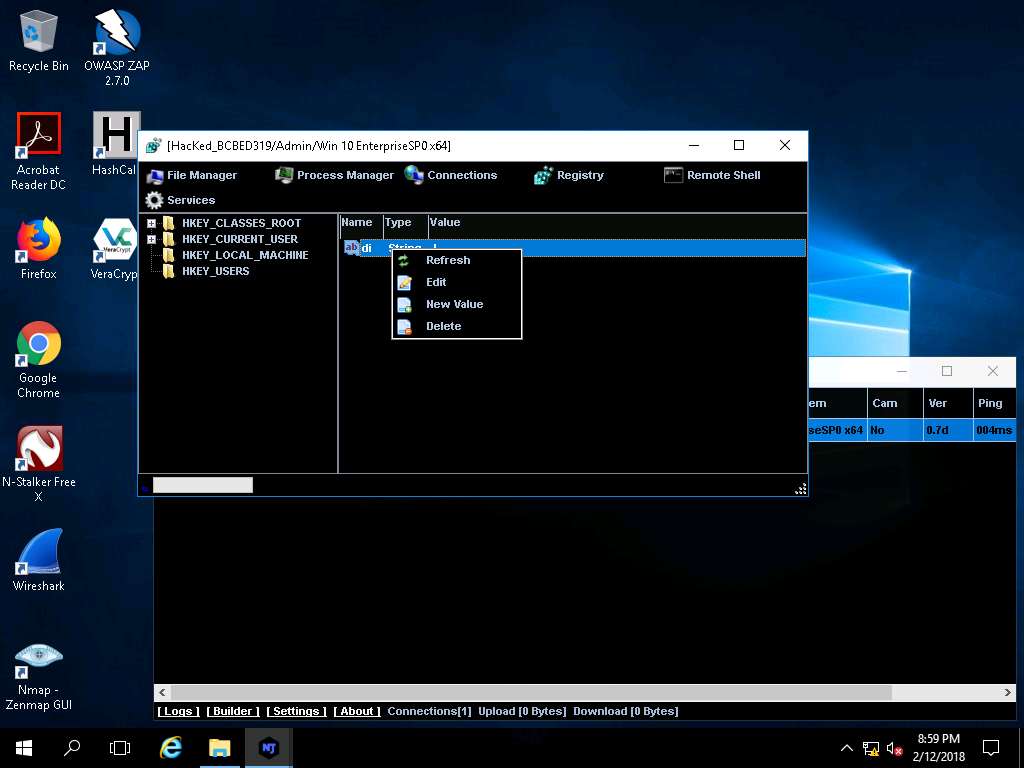
- Click Registry, choose a registry directory from the left pane, and right-click on its associated registry files. A few options appear for the files using which you can manipulate them.
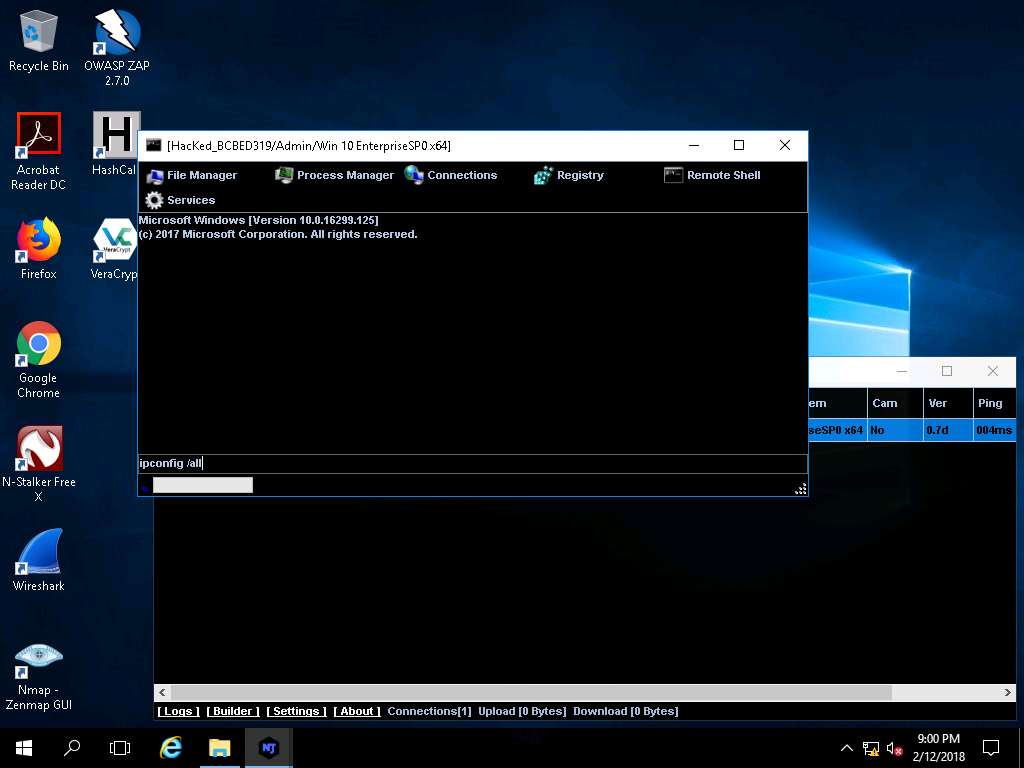
- Click Remote Shell. This launches a remote command prompt of the victim machine (Windows 10). Type the command ipconfig /all and press Enter.
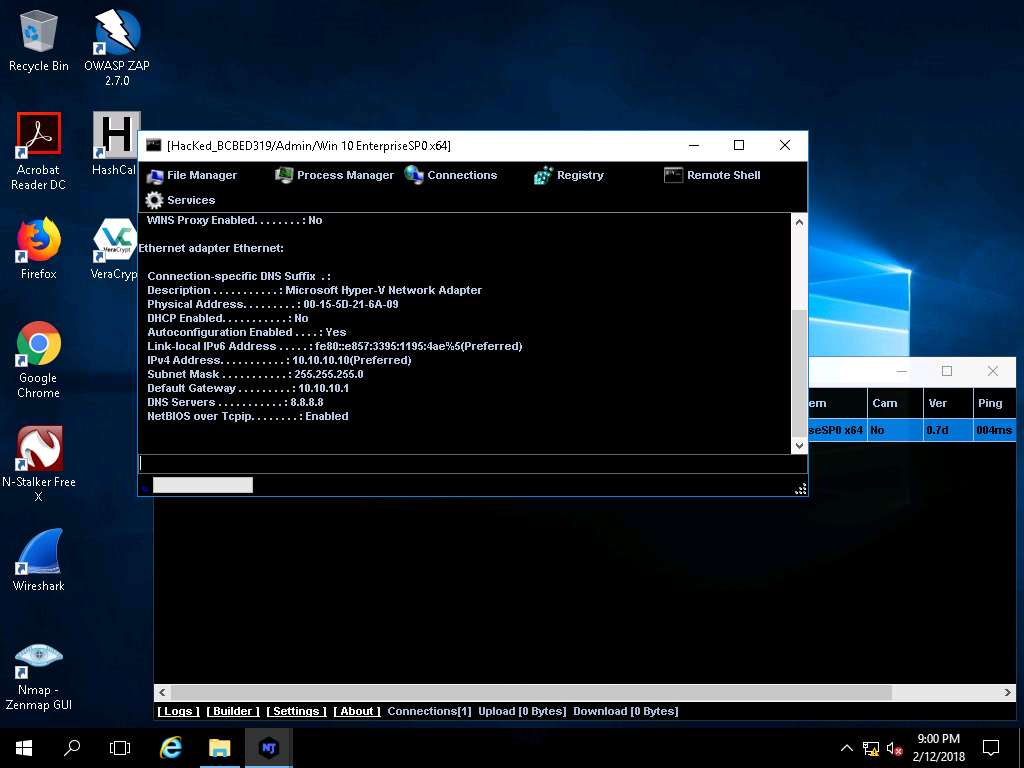
- This displays all the interfaces related to the victim machine, as shown in the screenshot. Similarly, you can issue all the other commands that can be executed in the command prompt of the victim machine.
In the same way, click Services. You will be able to view all the services running in the victim machine. In this section, you can use options to start, pause, or stop a service. Close the Manager window.
- Now right-click on the victim name, click Run File and choose an option from the drop-down list. An attacker makes use of these options to execute scripts or files remotely from his/her machine.

- Right-click on the victim name, and select Remote Desktop. This launches a remote desktop connection without the victim being aware of it.

- Remote Desktop window appears, hover the mouse cursor to the top-center part of the window. A down arrow appears, click it.
- A remote desktop control panel appears; check the Mouse option. Now, you will be able to remotely interact with the victim machine using the mouse.
On completing the task, close the Remote Desktop window.
If you want to create any files or write any scripts in the victim machine, you need to check the Keyboard option.
- In the same way, right-click on the victim name, and select Remote Cam and Microphone to spy on the victim and track voice conversations.
As microphone is not available in the iLabs environment, it is showing as disable.
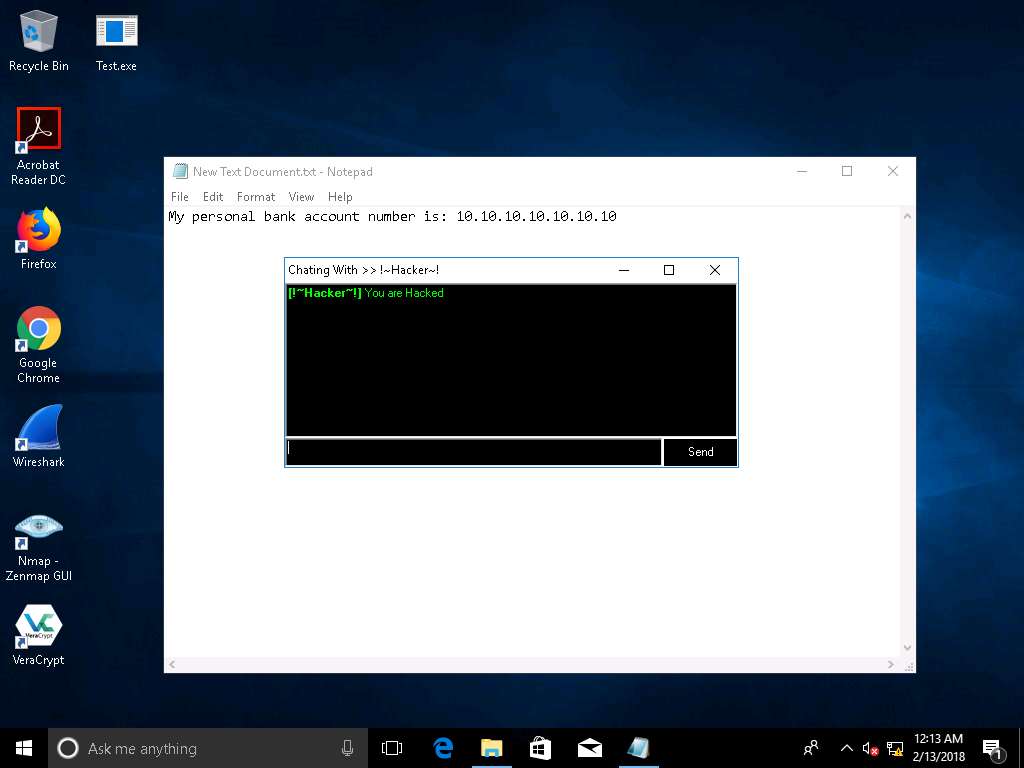
- Click Windows 10, assume that you are the legitimate user and perform a few activities such as logging into any websites or typing text in some text documents.

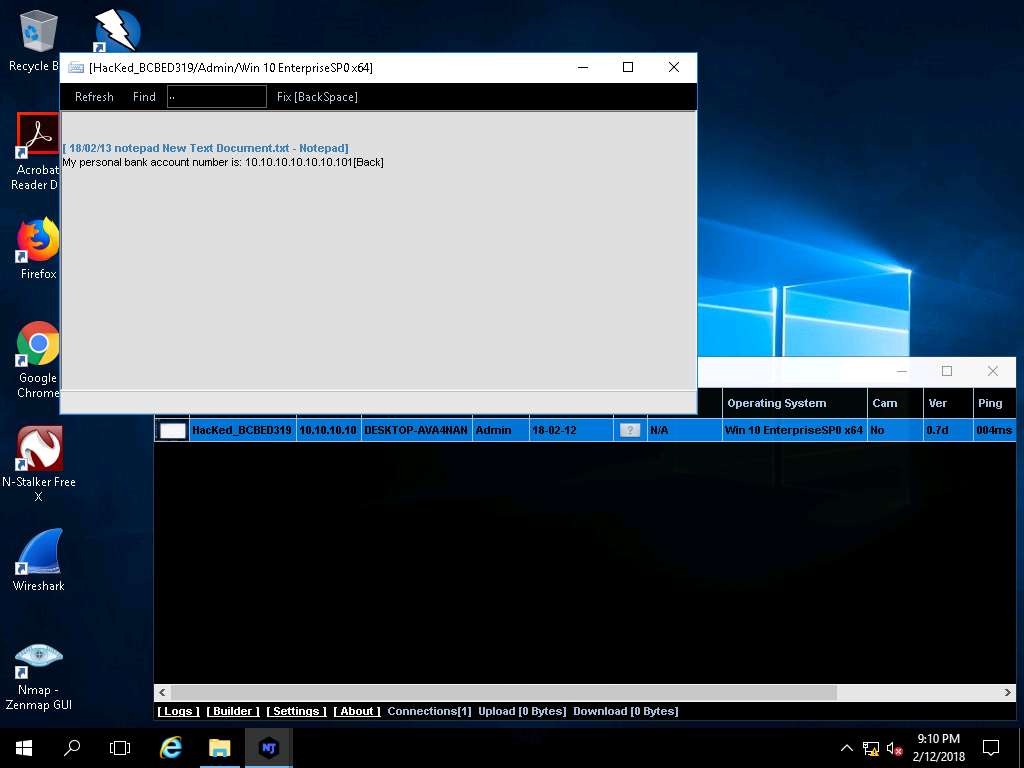
- Click Windows Server 2016, right-click on the victim name, and click Keylogger.

- The Keylogger window appears; wait for the window to load. The window displays all the keystrokes performed by the victim on the Windows 10 machine, as shown in the screenshot. Close the Keylogger window.
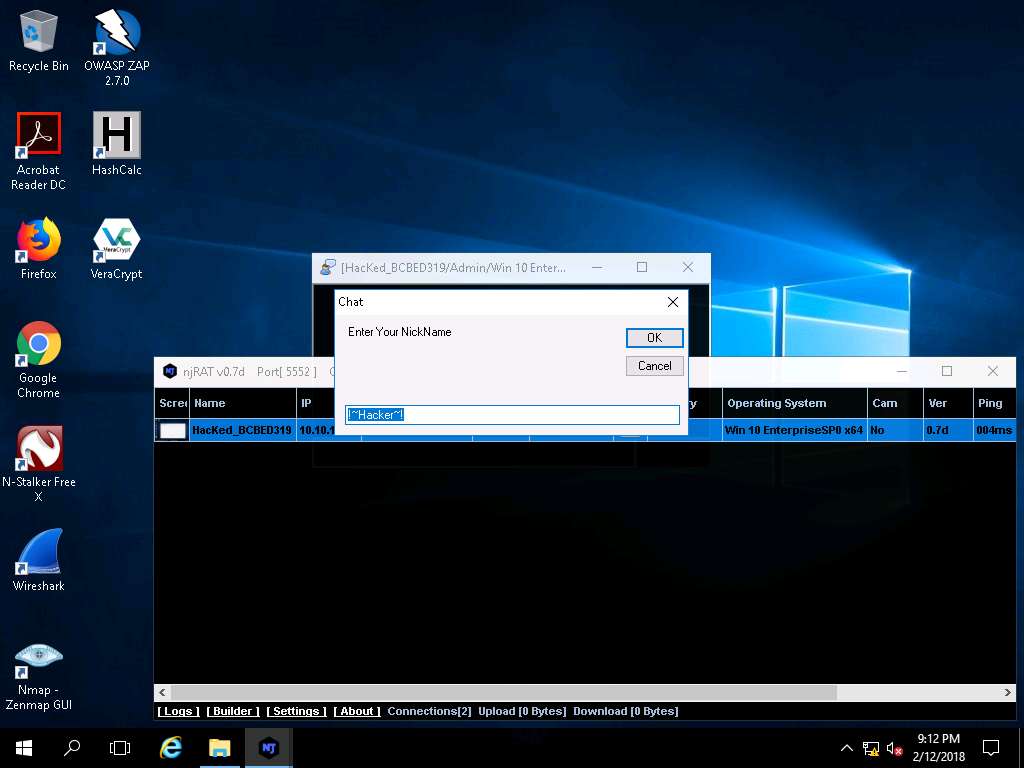
- Right-click on the victim name, and click Open Chat.

- A Chat pop-up appears; enter a nickname (here, Hacker), and click OK.
- A chat box appears; type a message, and click Send.

- Click Windows 10. As soon as the attacker sends the message, a pop-up appears on the victim’s screen (Windows 10), as shown in the screenshot.
Seeing this, the victim becomes alert and attempts to close the chat box. No matter whatever the victim does, the chat box remains opened as long as the attacker uses it.
Surprised by the behavior, the victim (you) attempts to break the connection by restarting the machine. As soon as he/she does so, njRAT loses connection with Windows 10, as the machine gets shut down in the process of restarting.
- Now restart the Windows 10 machine.
- ClickWindows Server 2016, observe that the connection has lost with the victim machine.
- Click Windows 10, and Login to the machine. Leave the machine running.
- Click Windows Server 2016, observe that the connection is established after the restart. The attacker, as usual, makes use of the connection to access the victim machine remotely and perform malicious activity.
- On completion of the lab, close all the windows.
In this lab you have learnt how to:
- Create a Server using njRAT
- Access the victim machine remotely