Exercise 7: Creating a Virus Using the JPS Virus Maker Tool
JPS Virus Maker tool is used to create the own customized virus. There are many options in build in this tool which can be used to create the virus. Some of the features of this tool are auto start, shutdown, disable security center, lock mouse and keyboard, destroy protected storage, and terminate windows.
Lab Scenario
Viruses are the scourges of modern computing. Computer viruses have the potential to wreak havoc on both business and personal computers. The lifetime of a virus depends on its ability to reproduce itself. Therefore, attackers design every virus code in such a manner that the virus replicates itself n number of times, where n is a number specified by the attacker.
Computer viruses have the potential to wreak havoc to both business and personal computers. Worldwide, most businesses have been infected at some point. A computer virus is a self-replicating program that produces its code by attaching copies of itself to other executable codes and operates without the knowledge or desire of the user. Like a biological virus, a computer virus is contagious and can contaminate other files; however, viruses can infect outside machines only with the assistance of computer users.
As an ethical hacker and pen-tester, during an audit of a target organization, you have to determine whether viruses and worms can damage or steal the organization’s information. You might need to construct viruses and worms, try to inject them into your target network, and check their behavior, whether an anti-virus will detect them, and whether they bypass the firewall.
Lab Objectives
The objective of this lab is to make students learn and understand how to make viruses and worms.
Lab Duration: 5 Minutes
- Click Windows Server 2012, and then click Ctrl+Alt+Delete.
Alternatively click Ctrl+Alt+Delete from Commands menu (Thunder icon).
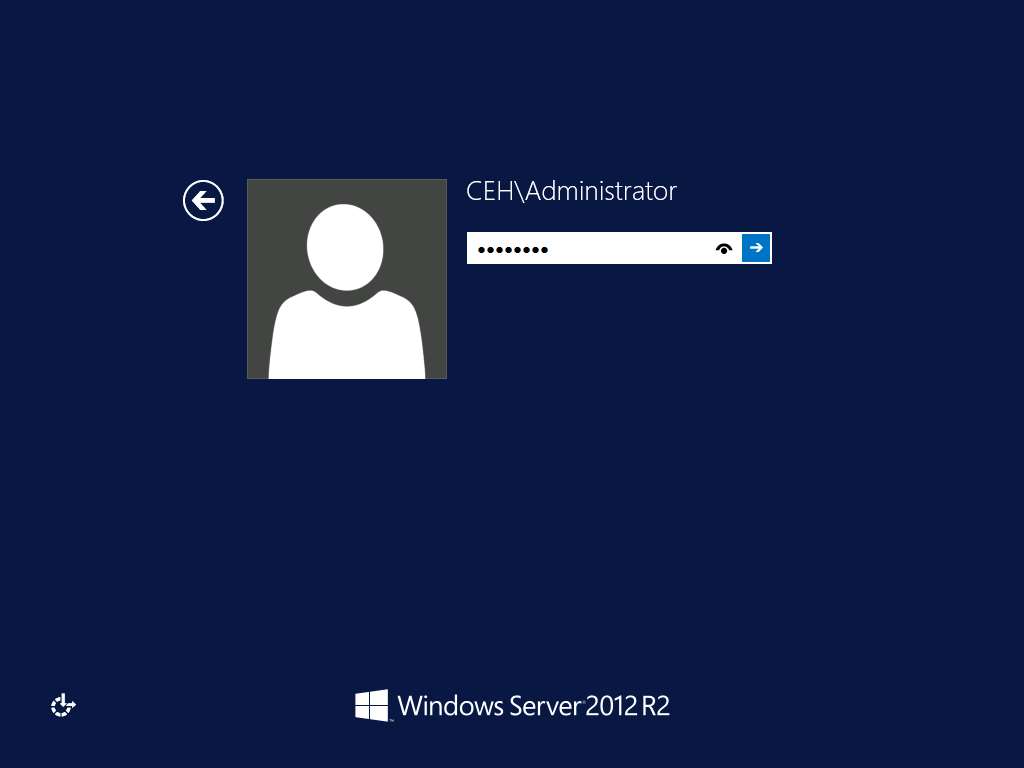
- In the Password field click Pa$$w0rd and press Enter to login.
Alternatively navigate to Commands (Thunder icon) menu Type Text and click Type Password.
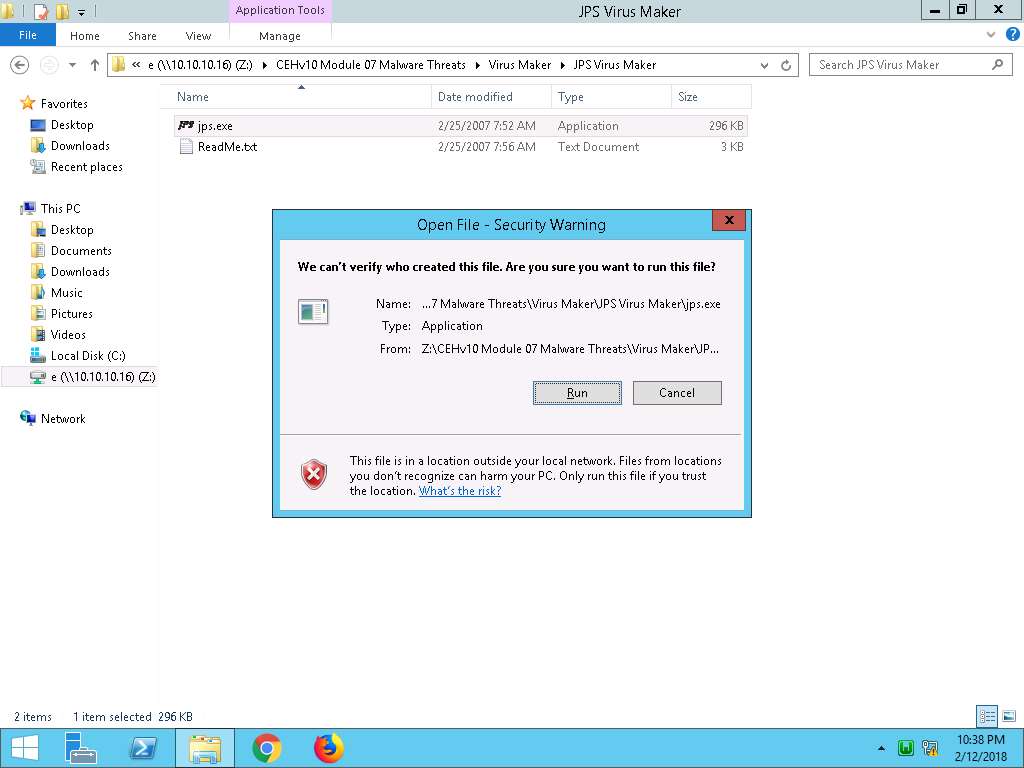
- To launch JPS (Virus Maker), navigate to Z:\CEHv10 Module 07 Malware Threats\Virus Maker\JPS Virus Maker and double-click jps.exe.
If an Open File - Security Warning pop-up appears, click Run.
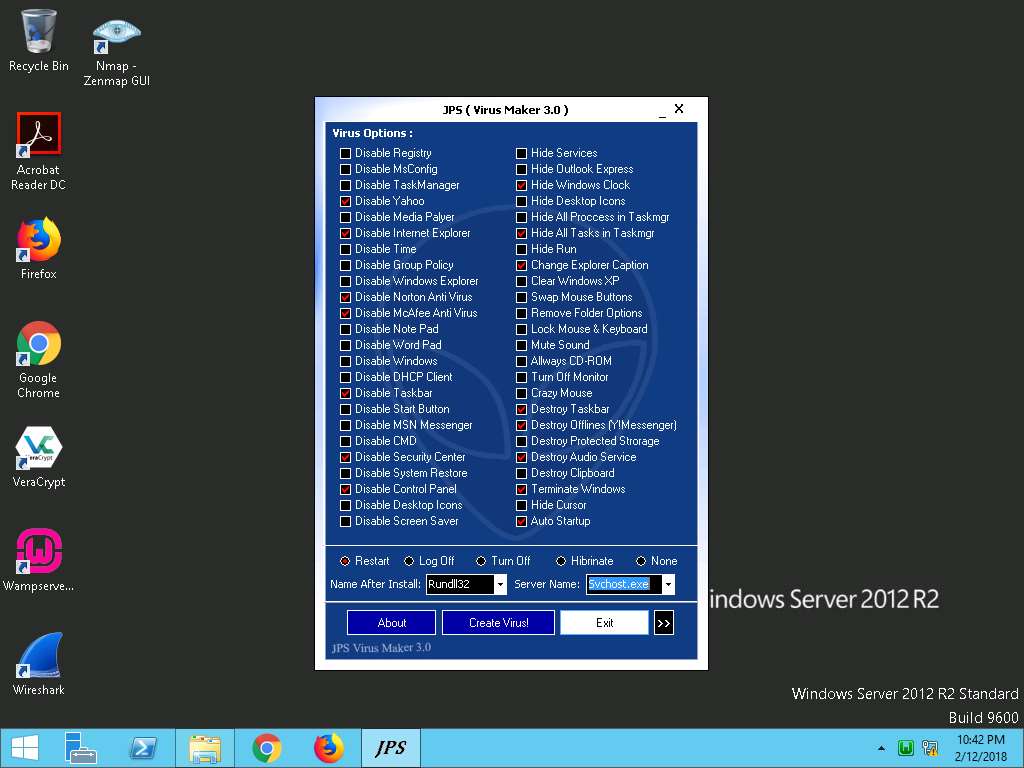
- The JPS (Virus Maker 3.0) virus maker main window appears, as shown in the screenshot. The window displays various features/options that can be chosen while creating a virus file.
JPS lists the Virus Options; check the options that you want to embed in a new virus file.
In this lab, the options embedded in the virus file are Disable Yahoo, Disable Internet Explorer, Disable Norton Anti Virus, Disable McAfee Anti Virus, Disable Taskbar, Disable Security Center, Disable Control Panel, Hide Windows Clock, Hide All Tasks in Taskmgr, Change Explorer Caption, Destroy Taskbar, Destroy Offlines (Y!Messenger), Destroy Audio Service, Terminate Windows and Auto Startup.
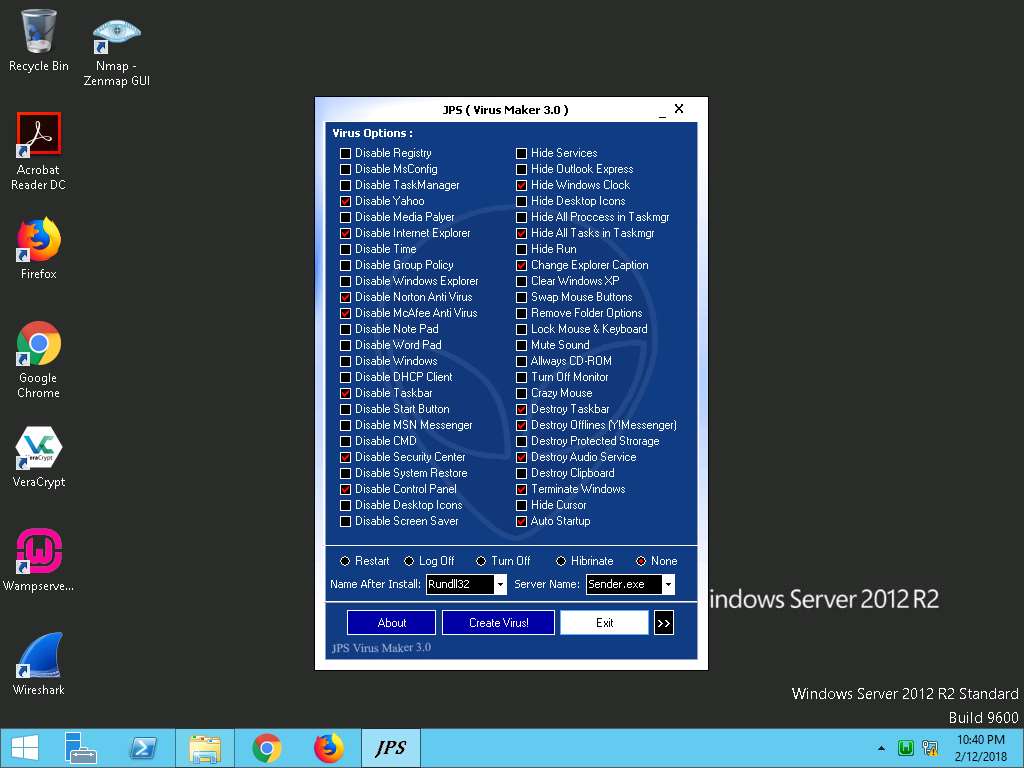
- Click a radio button (here, Restart) to specify when the virus should start attacking the system after its creation.
From the Name after Install drop-down list, choose the name of the service (here, Rundll32) you want the virus to mimic.
Choose a server name (here, Svchost.exe) for the virus from the Server Name drop-down list. Now, before clicking on Create Virus!, click >> icon to configure the virus options.
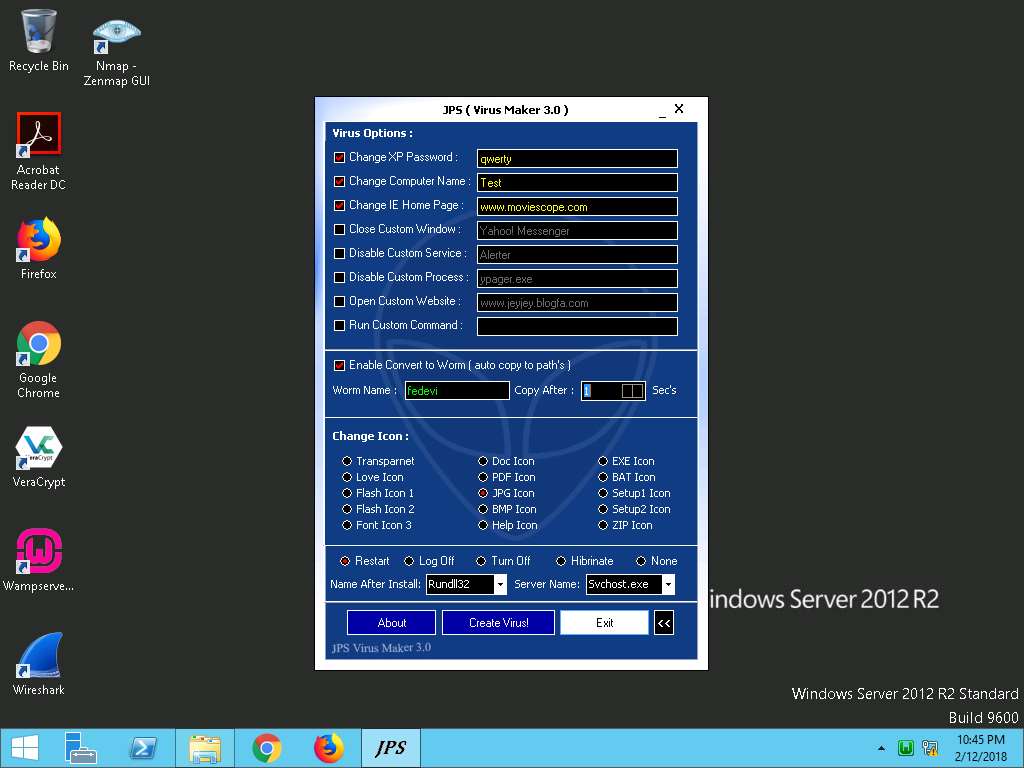
- A Virus options window appears, as shown in the screenshot. Check the Change XP Password option, and enter a password (here, qwerty) in the text field. Check Change Computer Name option, and type Test in the text field. Check Change IE Home Page option, and type www.moviescope.com in the text field.
You can even configure the virus to convert to a worm. To do this, check the Enable Convert to Worm checkbox, and provide a Worm Name (here, fedevi).
For the worm to self-replicate after a particular time period, specify the time (in seconds; here, 1 second) in the Copy after field.
Select JPG Icon radio button in the Change Icon section, and click Restart radio button, in the lower part of the window.

- After completing your selection of options, click on Create Virus!.
- A pop-up window states: Server Created Successfully…. Click OK. The newly created virus (server) is placed automatically in the folder where jps.exe is located, but with the name Svchost.exe.
Now, pack this virus with a binder or virus packager, and send it to the victim machine through emails, chats, mapped network drives, and so on.
In iLabs we donot have Internet Connectivity, so you cannot proceed for furthur prcoess.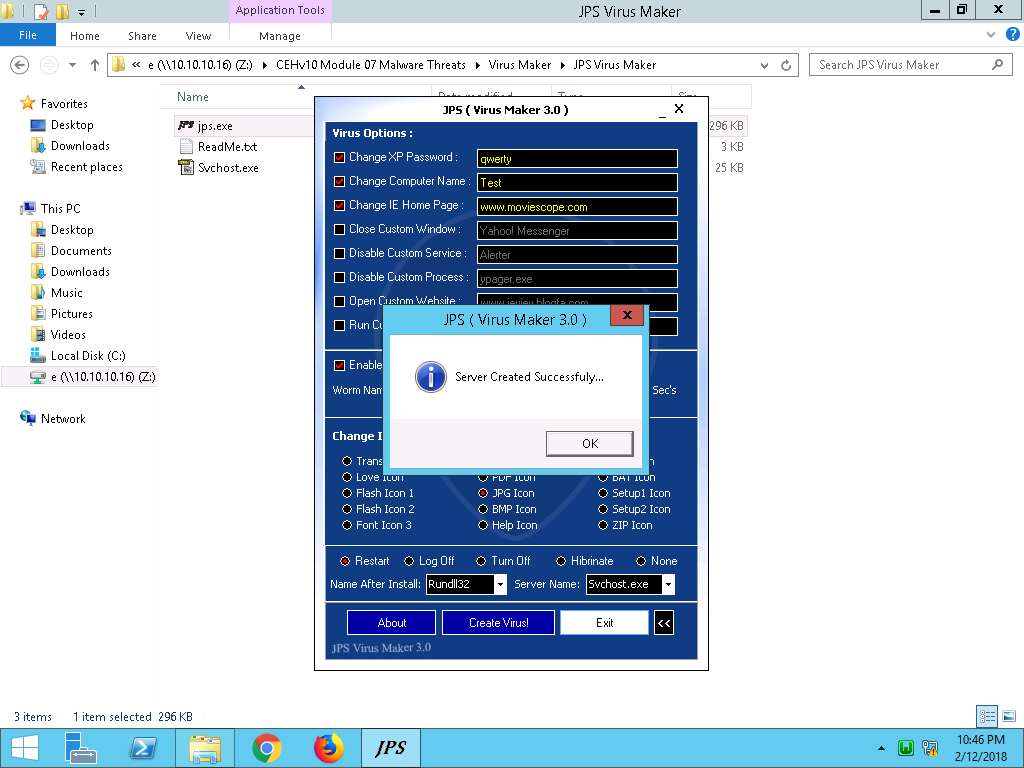
- On completion of the lab, close all the windows.
In this lab you have learnt how to create a viruses and worms.